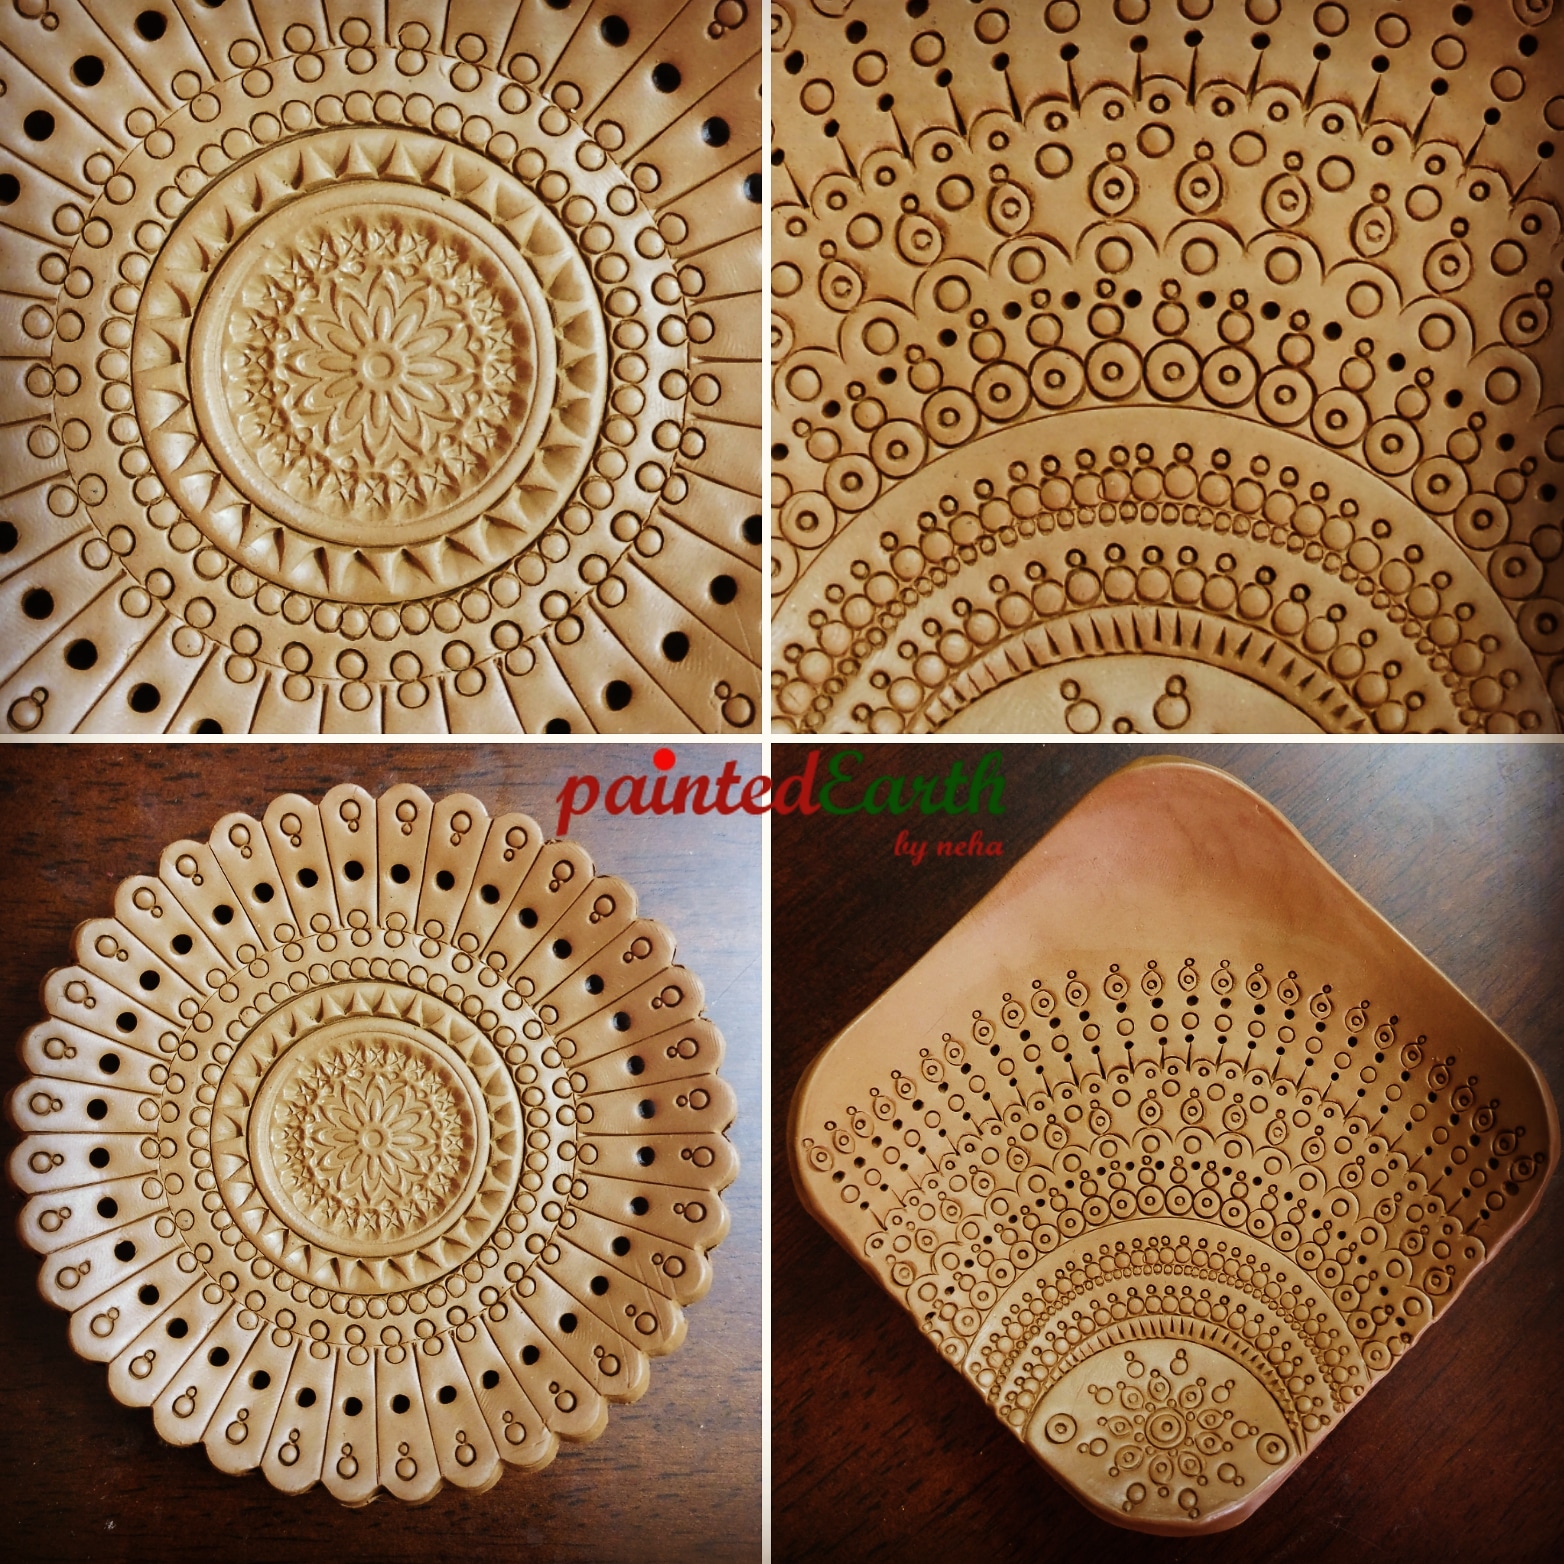
The Journey from Terracotta to Jewelry!
- Neha Gopinath Pillai
- Mar 9, 2018
- 3 min read
This is a repost of a write up I had done a long time ago under the guidance of my mentor Mr. Ramanuja who has been imparting this knowledge for more than 20 years. An art/ pottery teacher by profession continues to be my guide and inspiration in perfecting the art of making terracotta jewelry. The intent then and now is to share and spread the know-how of terracotta jewelry. I am no expert but I can assure you that this information will surely help you understand the extensive process that goes into making terracotta a wearable art. "When you buy something that is handmade, not only are you owning a piece of work that is a result of a strong career choice, hard work and passion but also instilling confidence that helps the artisan to do more"
Let’s understand the material a little better:
Terracotta clay is a low fire earthen ware secondary form of clay. (Primary clay - Mined from its origin; and secondary clay – Clay that has traveled from its origin through rain water/wind collecting different minerals on its way). Due to its high iron content, terracotta undergoes oxidization during firing and turns into an orangish –red color, hence the name 'Terracotta'.
Process of making the clay suitable for jewelry making:
The clay that travels with the rain water gets collected in lakes and ponds that gradually dry up during summers, making it an ideal time to collect and put them through several tests to determine color, shrinkage, plasticity and warping. On passing these stages, the clay is ready for further processing.
The process of filtering and storing clay:
The collected clay is broken down to small pieces, soaked and stirred. Filter and let it settle for a minimum of two to three days. Take the excess water with the help of a sponge and put the clay into POP (Plaster of Paris) moulds for drying. When the clay is leather hard take it out of the mould, wedge it and store in an airtight container.
Designing:
The clay is your canvas! The level of creative freedom it provides is immense. Your surroundings are an inspiration. Always have a keen eye as some of the most basic items lying around the house become your most trusted tools.


A couple of things you need to remember:
Do not use brass/copper/aluminum wires as their melting temperature is low. Firing of terracotta jewelry happens between 700˚ C – 1000˚ C.
Recommended to use only nichrome (combination of nickel and chromium) or kanthal.
Once the piece has been created, leave it to dry thoroughly. Based on the external conditions that should take anywhere between 3-6 days. Clay shrinks twice during the entire process; once during drying and then during firing. (approx. 5 – 15% depending on the clay)
Firing process:
Oxidization: The piece gets the oxygen while firing with the end result being an orangish red fired terracotta piece that is ready to be painted upon.
Reduction: a) You cut the oxygen supply by putting saw dust/ husk and seal the pot with some clay. (Clay pot consisting of the material that needs to be fired). The end product here is a black fired terracotta piece.
b) After oxidization firing pull out the red hot article and drop it gently in a metal pot with hay/rice husk and close to immediately. The end product here too is a black fired terracotta piece that is ready to be painted upon.
Firing happens above 700˚ C – 1000˚ C. A temperature below 700˚ C is not recommended for terracotta.
The method of firing takes place in a Kiln.
Updraft kiln
Through draft kiln
Downdraft kiln
Once the pieces are at room temperature they can be painted using acrylic paints and assembled in the desired way. That would be enough material to write another article so I call it a day hoping this was informative enough giving you a fair idea of the process that is literally handmade from scratch! Neha Gopinath Pillai


Comments